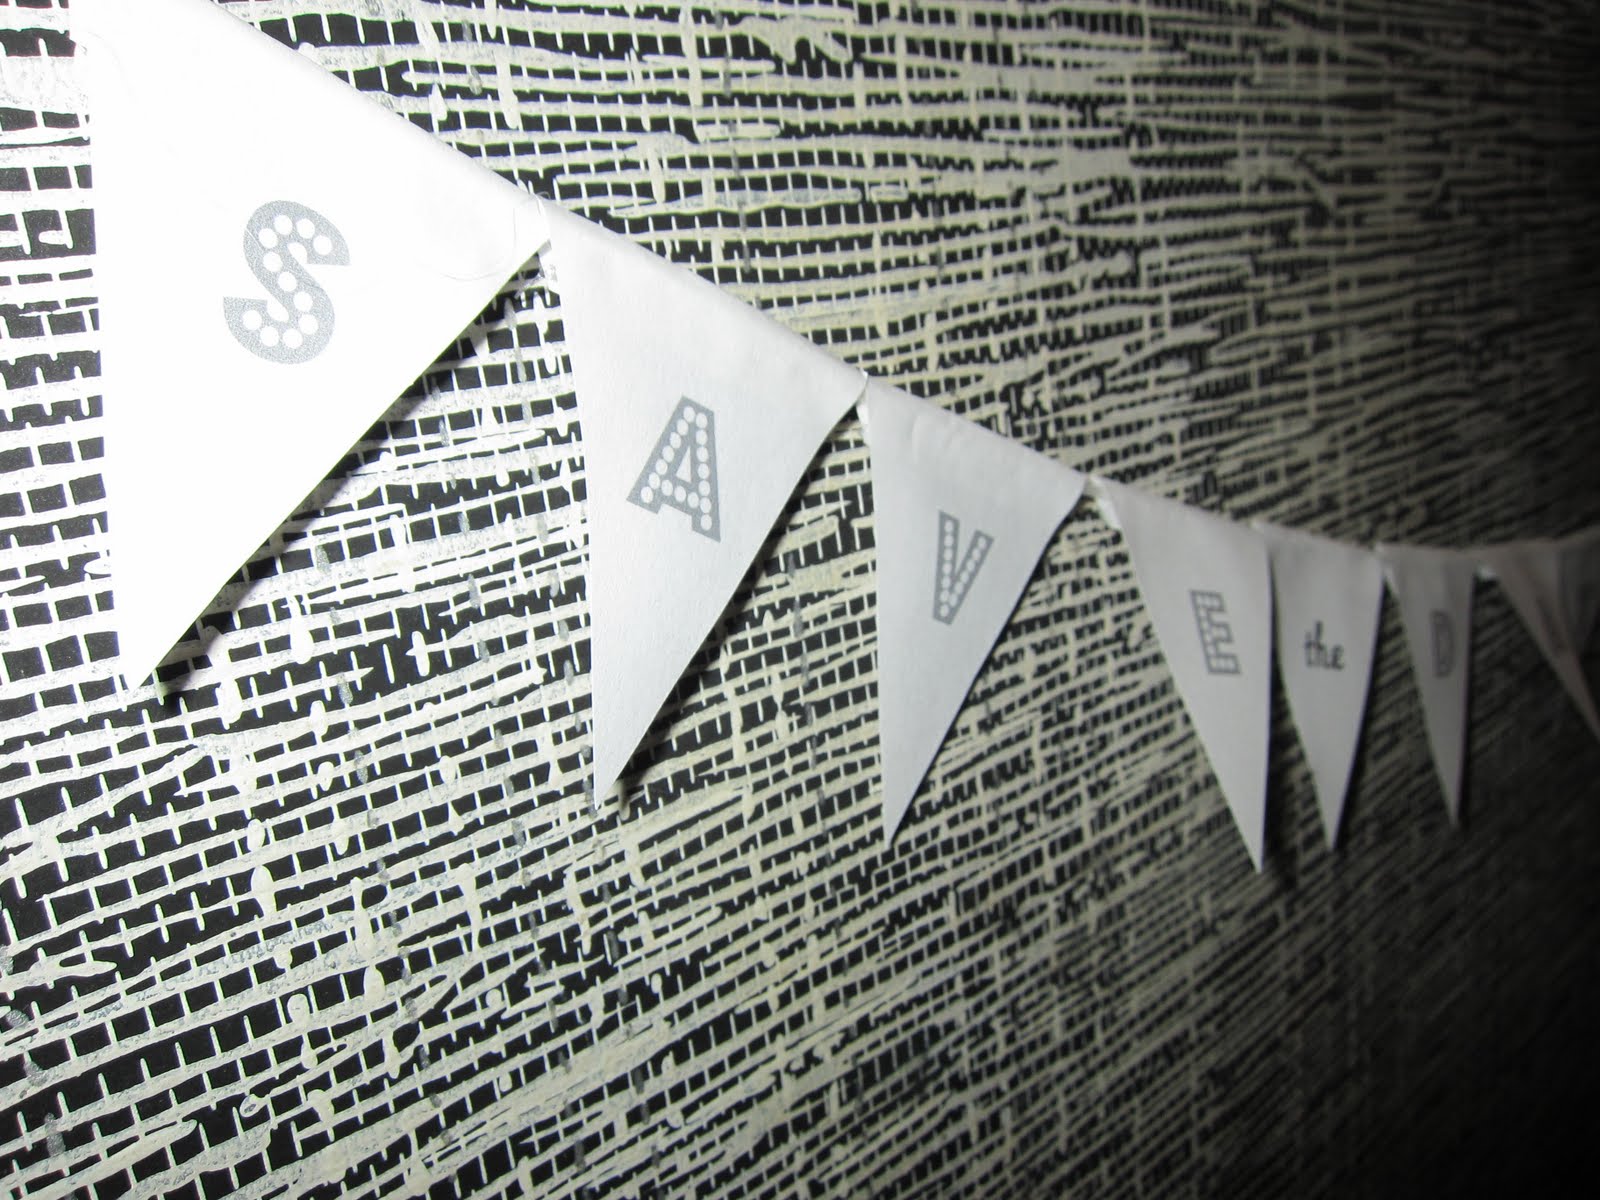
Well... Just as a refresher... Here they are - all adorable!

Here they are laying flat on a table... but scroll down
to see them hanging vertically in all of their glory.
(All pics are self pics)
I personally think that they ooze charm and kitsch. Plus it is so much fun to go over houses of future witnesses to our union and see them displayed it all different ways. While Mr. Sweet Cream's aunt has them in her living room being held up by two country doodads, Gmom Sweet Cream has it taped draped on the front of her fridge.
Well - I thought that I would share with the hive exactly how this virtually free but crazy time-sucker of a project happens.
This is what you will need:

- Glue gun
- Hot glue
- String
- Your printed paper
- I used the saying: S A V E the D A T E Miss Sweet Cream and Mister Sweet Cream are tying the knot. 01. 01. 2011. I used Budmo Jiggler font in grey (12 point) for the individual letters and numbers and Missed Your Exit for flags that were words (example: "the").
- NOTE: Make sure to space it apart enough both horizontally and vertically so that you can have your "flag" without cutting into other letters.
- Scissors
- Envelopes
- Envelope Liners
- (After scouring the craft stores for yellow & grey scrap book paper, I wound up making color photo copies of the fabric that inspired the color scheme from the get go)
- NOTE: I used this tutorial for the envelope liners... except I just used scissors.
- Sticker Paper (Optional) / Addressing Envelopes

I used a 48 point font and space them out enough so that
I could cut around them

Next, I folded over that template to make the fold.

I then made two snips on each side to get the "bunting" effect.

This is how your template will look.

You then go to town cutting out all your letters and words. I made words for "the," our names, "are tying the knot." I used Missed Your Exit for that.

You then go to town cutting out all your letters and words. I made words for "the," our names, "are tying the knot." I used Missed Your Exit for that.

If you are using regular computer paper, you can hold it up to the light and see the letters and center your template.
For the wider letters/words, I just held my template out and cut giving space on the side -- but making sure to end at the same bottom part of the flag.


Soon you have all of your flags cut out (woohoo!).

I would spend hours of watching baseball games during the playoffs cutting the "flags" and putting each STD "package" of flags into envelopes. That way I could do all my hot gluing at one time.
Then comes the folding. Just fold each one over so that you have a front and back.

When you're ready to make the bunting, cut the string to the length needed. Depending on whether or not you have the mister or a great friend around to help you, you can have them hold each end -- or you can use something to tie it to... like a soda bottle. If you are using something like this, make sure that you have extra long string. If I wasn't using the bottle, I would cut my string approx. 36 inches. But you will do some trimming. It's just better if you have more then less. Right?

Heat up your trusty glue gun and put a small trail along the tiny part of the flag.

Then you glue each one on in order, pinching a little to seal. Leave a tail on the left. You can also tie a couple knots ("tying the knot!" ;) )

Keep on going until you hit your "year" - AKA the last flag.


Snip the string, leaving enough to tie some knots on the right side.

Then you shriek in excitement of how adorable your STD is! So CUTE!!!!

Then you shriek in excitement of how adorable your STD is! So CUTE!!!!
And the icing on the cake is that they were almost free. I just had to buy the envelopes and the stamps!

STDs hanging in our hallway.
I got so many compliments & it's fun to see how people display them (mostly taped to the refrigerator, but other places too!). They needed a 64 cent stamp since they were a little bit thicker and wouldn't make it through the machine (according to the US Post Office).
Was your Save the Date labor intensive?? Did you figure out a way to have it cost next to nothing??
No comments:
Post a Comment